Rendering Leaf Lard or Beef Suet

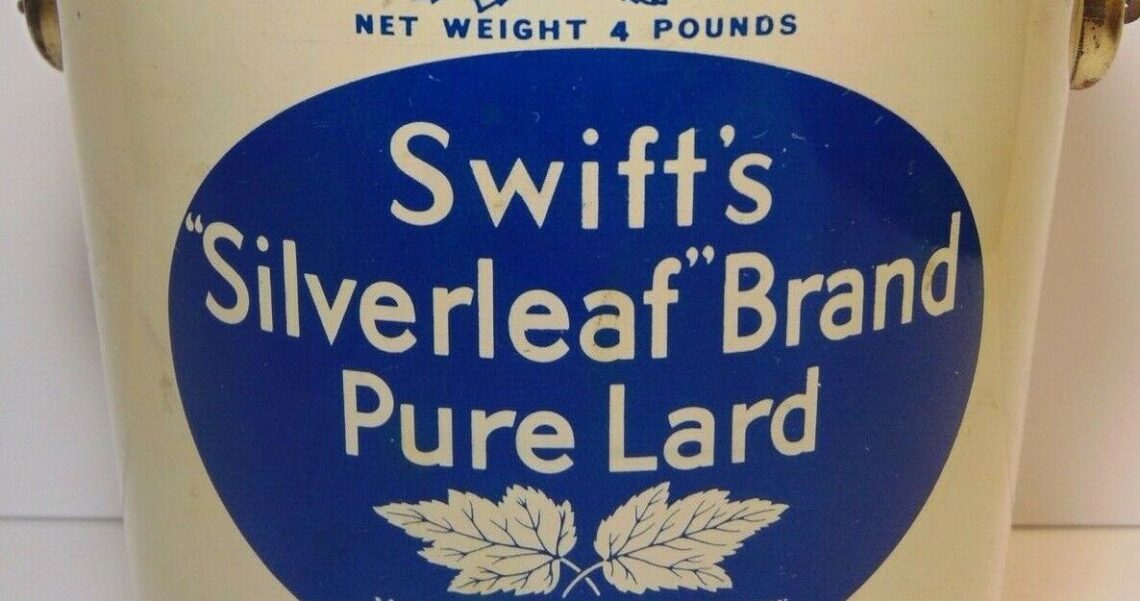
I’ve been using processed lard in my Vodka Pie Crust Recipe for several years because I get a more flaky crust than I do when using butter or shortening. But store bought lard is partially hydrogenated to extend its shelf life. Using commercially available lard simply is not as good as using lard that you render yourself. And when we’re talking lard, we’re talking about leaf lard, which comes from the fat that surrounds the kidneys of the pig. Kettle-rendered Leaf lard, sold in metal buckets, was a kitchen staple in the first half of the 20th century, and was most likely your grandmother’s (or great-grandmother’s) fat of choice when making pie crust, unless her preference happened to be beef suet.
I have recently moved from buying partially hydrogenated store bought lard to buying leaf lard from a farmer and bringing it home and rendering it. Using rendered leaf lard in my pie crust has definitely made a difference and I’ve been extremely pleased with the results. For this Thanksgiving, I’ll be switching things up a bit and using beef suet instead of leaf lard, because some of our Thanksgiving guests do not eat pork. But as far as the rendering process goes, it is the same for either lard or suet.

The first step is to dice up your leaf lard. I try for a 1/4-inch dice, because the smaller the dice, the more rendered lard we’ll have at the end of the process. And here’s a tip: cold lard dices much easier than lard at room temperature.
Once it’s diced, you need to decide where you want to cook it. Rendering lard produces some rather unpleasant odors. Even with beef suet, which doesn’t smell nearly as bad, you may want to move your rendering activities outdoors if possible.
Now it’s time to put it in a kettle on low heat–we need to avoid browning the fat. You will want to leave your kettle uncovered.
At this point, the process does not need constant attention, but you should check in on it every few minutes, to make sure it’s not too hot. As long as the bits are not browning, everything is good. Gradually the diced lard will render liquid, although the bits of solid lard (cracklings) will remain. It should take about two hours to fully render the lard.


When the lard is fully rendered, you’ll want to slowly (and carefully) pour the contents of the kettle through a strainer and into a container (I use a glass food container), in order to separate the rendered lard from the cracklings. Let the rendered lard cool at room temperature until in solidifies.
Once that happens, your rendered leaf lard will be a very nice shade of white. It’s time to cover it and put it in the refrigerator until pie baking day arrives.
Lard lasts for up to two months in your refrigerator, and over a year should you choose to freeze it.


You May Also Like

Apple Picking in Northern New England

Boston Tall Ships Commemorate War of 1812 Bicentennial