-
Irish Lamb Stew
Here in New Hampshire, in the middle of October, Autumn has definitely arrived. And of course along with the season comes the colder weather, and nothing warms you up like a nice, hearty stew. Leafing through my collection of recipes, I decided to start my journey with my adaptation of the Irish Stew recipe by David Tanin, courtesy of the New York Times. I’ve cut back a bit on the potatoes in my version of the recipe, and I’ve also increased the cooking time, which results in a more tender lamb. For the broth, nothing beats homemade, but if you’d rather not go through the extra work to make a homemade…
-
Pappardelle con Ragù di Capra
This is my own version of a southern Italian classic, pappardelle with goat ragù (Pappardelle con Ragù di Capra). Here in America, we don’t consume a lot of goat, and that’s a real shame. In Sicily and southern Italy it is far more common, and my search for good goat ragù sent me in quite a few different directions, none of which led me to my own gastronomic Shangri La. So like any garden variety know-it-all, in the end I digested what I discovered, ruminated on it a bit, and ultimately created my own only slightly bastardized version of the dish. So Italian it ain’t, but it definitely has Italian roots.…
-
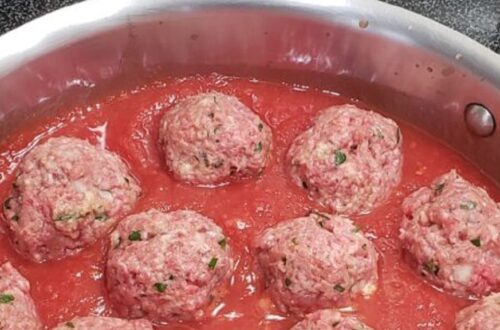
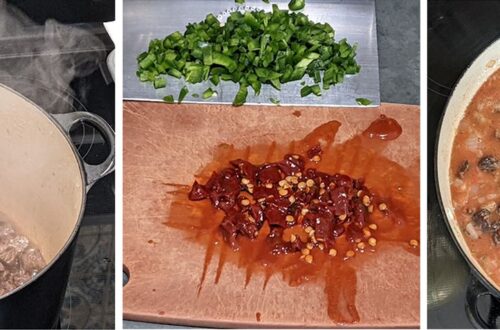
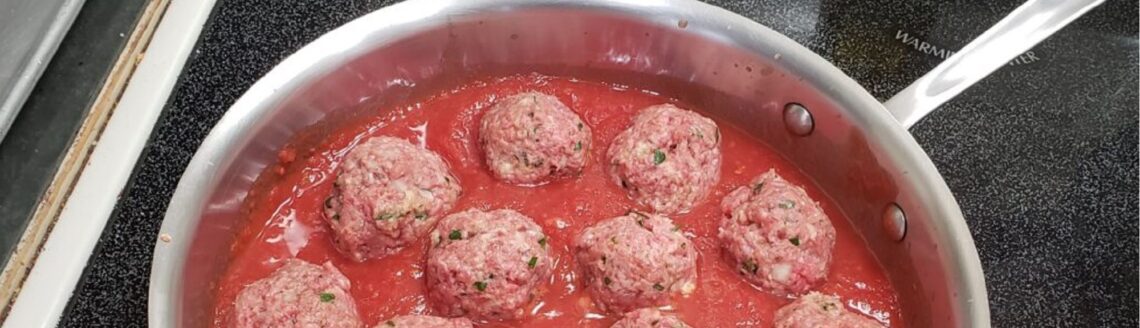
Meatballs in Tomato Sauce
No, there is no spaghetti hiding just off camera upon which this dish is to be poured, because this is not an American dish, this is an Italian dish. And Italians simply do not have a tradition of spaghetti and meatballs (or any other pasta and meatballs). It simply isn’t done. This dish exists in America because southern Italian immigrants were shocked at how inexpensive meat was compared to what it cost in the old country, and so they created the spaghetti and meatballs gut buster that’s been a standby in Italian “red sauce” restaurants for decades, until most of them were put out of business by a Texan food conglomorate…
-
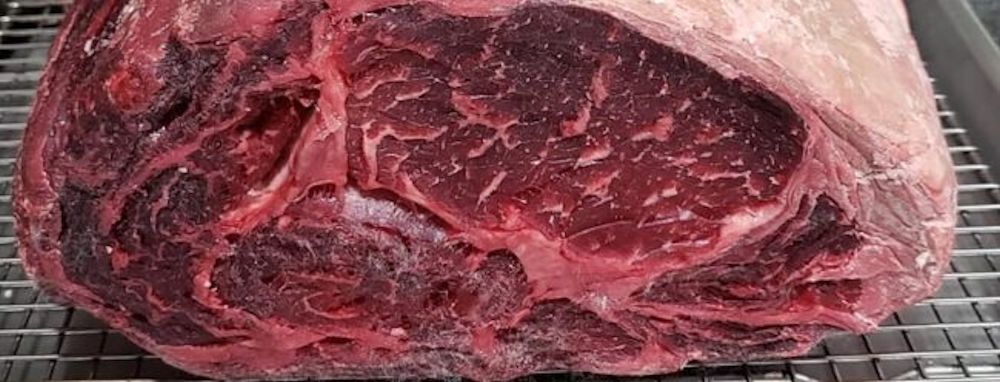
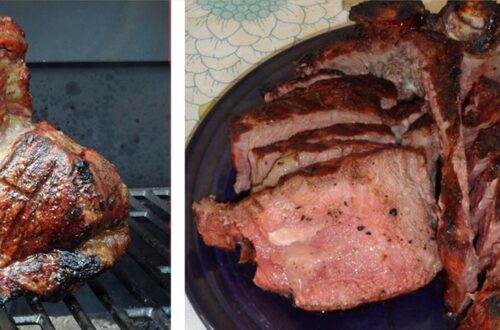
Bone-In Rib-eye Roast
Often misnamed “Prime Rib”, the bone-in rib-eye is my favorite cut of beef. Whether as a steak or a roast, the rib-eye, with it’s distinctive wrapping of deckle* (otherwise known as rib-eye cap, or more formally, spinalis dorsi), is a particularly tender and is distinct in texture from the rest of the bone-in rib-eye. When choosing a bone-in rib-eye, the first decision you’ll need to make is whether you want your roast from the small-end or large-end of the beef rib primal, which comes from the beef forequarter. It is separated from the beef chuck between the fifth and sixth ribs, and from the loin between the twelfth and thirteenth ribs,…
-
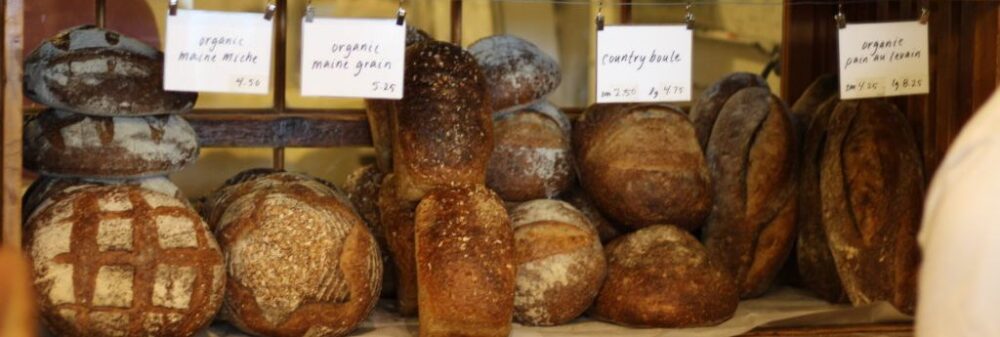
Food Road Trip; Portland, Maine in Summer
To mark my 58th birthday, Elisa and I hit the road early and set our sights on Portland, Maine. Portland, for a city of its size, has an amazing food scene, and we like food. It seemed like a match made in heaven. When we left Rindge in the morning it was raining, but the forecast for Portland was for a dry, but overcast day. It rained for most of the two and a half hour drive, but as we got within twenty miles of the city the rain stopped and that was the last we’d see of it. The Standard Baking Company Some time ago, we had watched a pair…
You May Also Like
Fathers’ Day, Bistecca alla Fiorentina
-
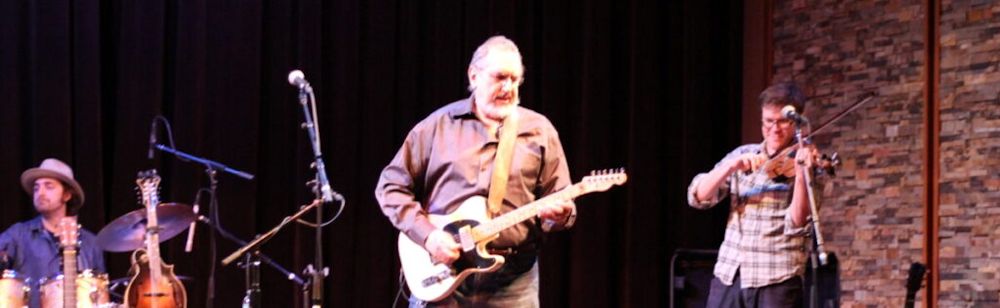
Concert Review: The David Bromberg Quintet
When David Bromberg comes to New England, the question usually isn’t whether to go see him play, but rather which venue to see him at. This time through, David played a pair of dates in Massachusetts, first at Fall River and then in Rockport, and then he wound up the New England leg of his tour in Plymouth, New Hampshire. We chose to see him at the Shalin Liu Performing Arts Center in Rockport because with its unique architecture and siting, it is perhaps our favorite music venue in all of New England. David Bromberg is touring primarily with his quintet these days, which consists of bassist Butch Amiot, who has been playing…
You May Also Like

Concert Review: Inti Illimani
-
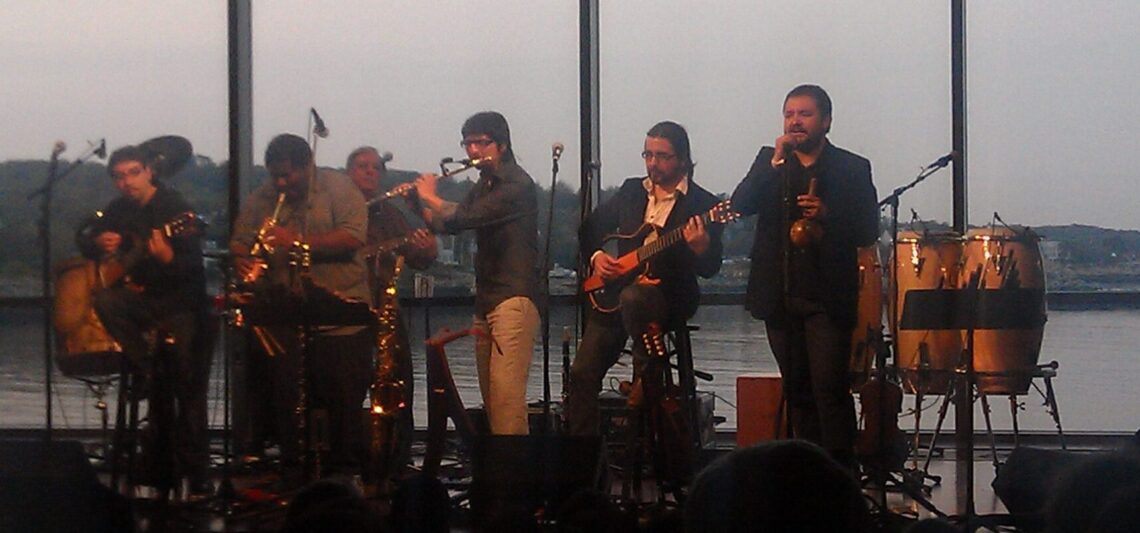
Concert Review: Inti Illimani
For a couple of years now we have wanted to go to a concert at Rockport’s beautiful new Shalin Liu Performance Center. Finally we made it earlier this month to see the famous Chilean music group Inti Illimani perform there on October 14. My wife first saw Inti Illimani perform back in the 1970s in Italy, where the band spent much of their time while in exile from Chile during the time Pinochet was in power, and she took me to see them back in the 1980s in Somerville, Massachusetts. I remember at the time that the music I listened to was absolutely captivating, so I was very much looking forward to…
You May Also Like

Concert Review: The David Bromberg Quintet
-
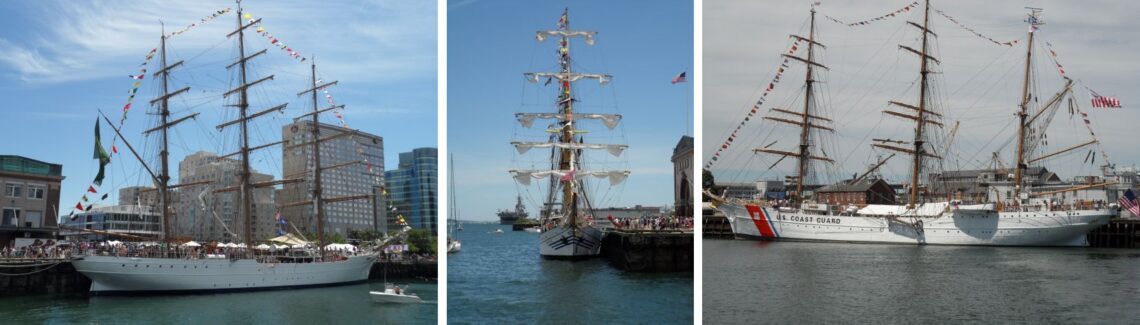
Boston Tall Ships Commemorate War of 1812 Bicentennial
The Tall Ships are in Boston celebrating the Bicentennial of the War of 1812. My wife’s mother is visiting us from Italy, and as a belated Mother’s Day present, we took her to Boston on Saturday, June 30 and went on a harbor cruise to view the tall ships from the water. We took advantage of a trip that was organized by the Rindge Recreation Department that included transportation and the cruise for a very nominal fee. We arrived at Faneuil Hall well before the scheduled cruise, and had time to walk around a bit and have a leisurely lunch and do some people watching at a restaurant with outdoor tables. The weather…